Countdown
The Countdown block adds an interactive timer to your website that counts down to a specific date and time. Intended for highlighting upcoming events, product launches, registration deadlines, or any time-sensitive information you want to bring attention to. The Countdown block offers two different ways to set up your timer, namely
- connect to an Indico event (automatically pulls event details); or
- set a custom date and time manually.
The countdown displays days, hours, minutes, and seconds remaining until the specified time. When the target date and time are reached, the countdown will display "Event has started" or can be configured to show a custom message of your choice. The countdown is responsive and will adapt to different screen sizes, maintaining its functionality and visual appeal across desktop, tablet, and mobile devices.
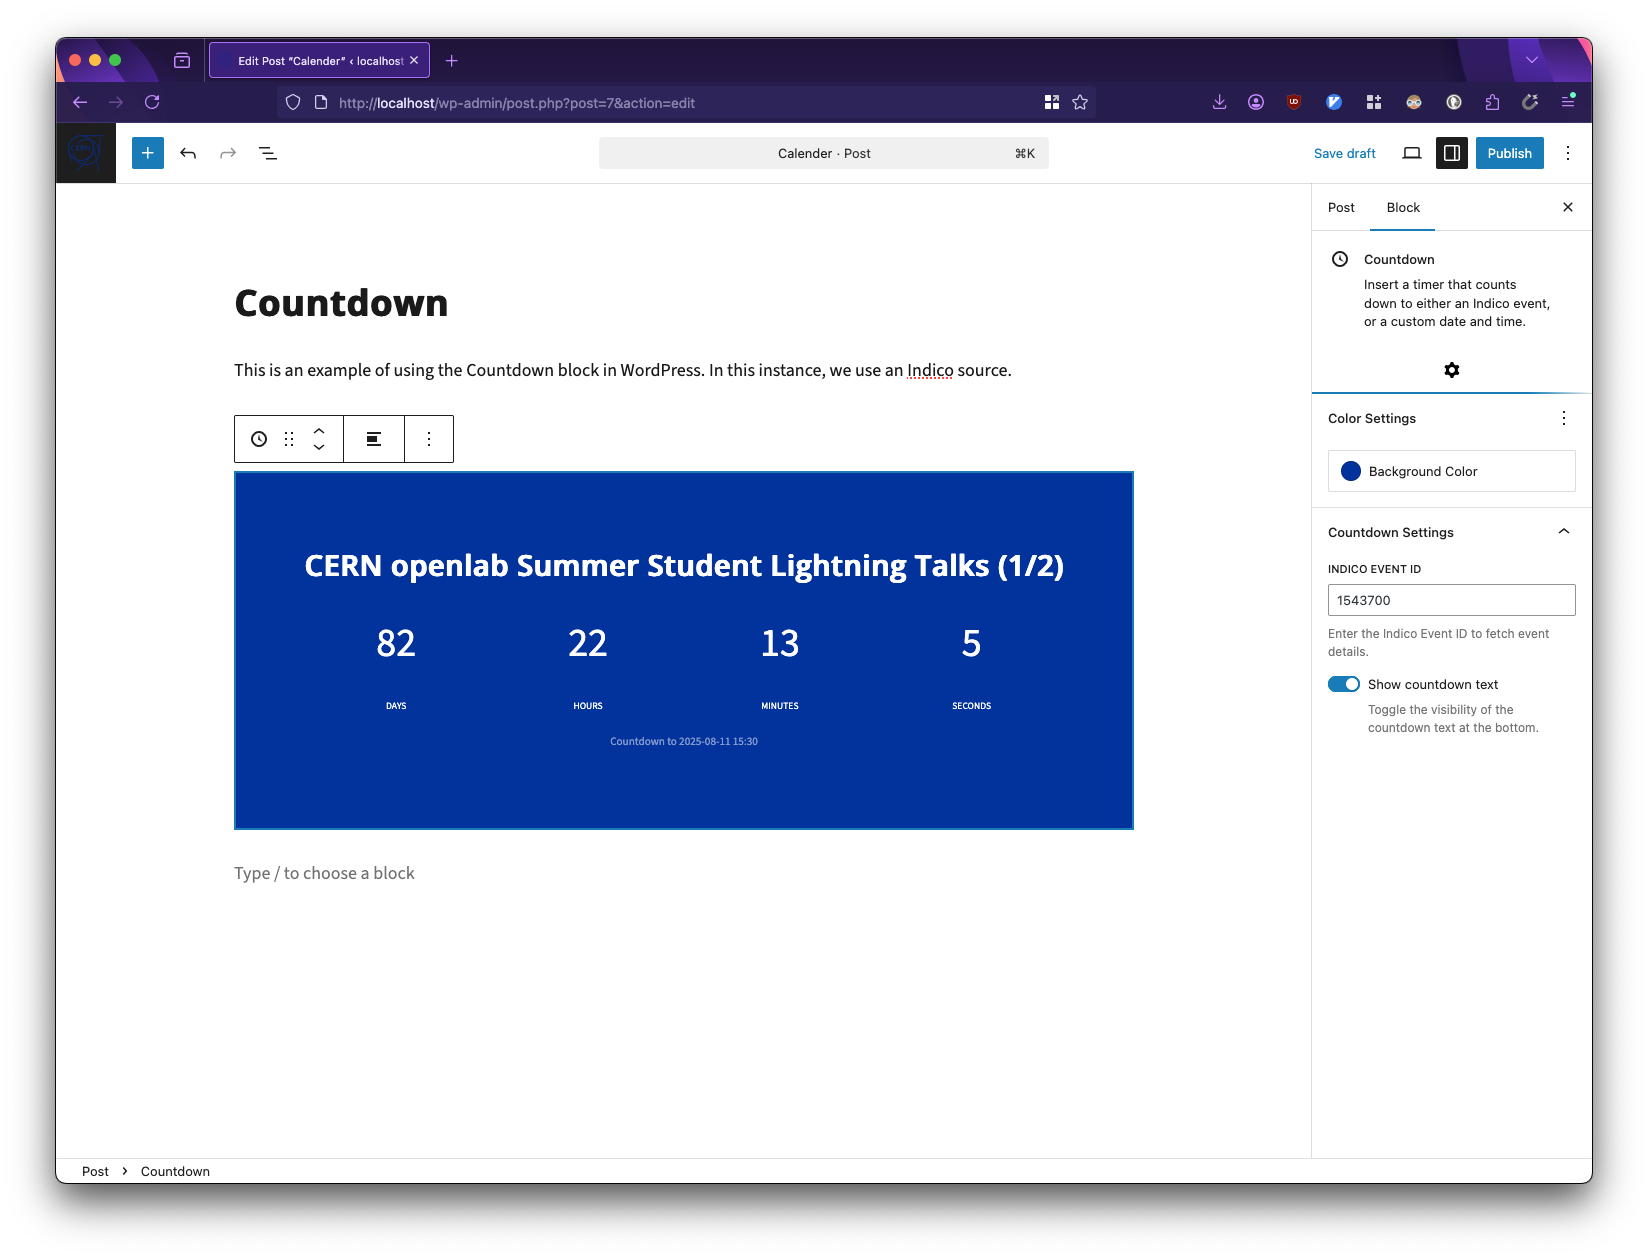
The CERN Countdown block with an Indico event.
Adding the Countdown Block
- In the WordPress block editor, click the
+button to add a new block. - Search for
Countdownand select the Countdown block. - The block will be added to your page with default settings.
Alternatively, you can type /countdown on a new line and press enter to add the block.
Configuration Options
In general, we recommend connecting an Indico event to the Countdown block.
- In the block settings sidebar, locate the
Indico Integrationsection. - Toggle on
Use Indico Event. - Enter the Indico Event ID in the provided field.
- The Event ID can be found in the URL of the Indico event page (e.g., for https://indico.cern.ch/event/12345/, the ID is
12345). - Click
Fetch Event Data.
The countdown will automatically:
- Adopt the event's title.
- Set the end date and time to the event's start time.
- Update the display with the correct information.
When using an Indico event, the title, date, and time fields will be disabled as they are controlled by the event data.
Consequently, if you need to make changes, please do so directly on Indico.
If you do not have an Indico, you can still use the block by setting a date and a time manually.
- In the block settings sidebar, make sure
Use Indico Eventis toggled off. - Enter a title for your countdown (e.g., "Conference Registration Deadline").
- Set the end date using the date picker.
- Set the end time in 24-hour format (HH:MM).
- The countdown will update to reflect your settings.
Customising the Display
The Countdown block can be customised to match your content. You can control the title display by choosing whether to show the title above the countdown. The block supports different alignment options, allowing you to position the countdown to the left, center, or right of your content area to achieve the desired layout.