Media Library
The WordPress Media Library is a centralised repository for all your digital assets, serving as the backbone of your site's visual and downloadable content. By default, WordPress allows you to upload and manage various file types including images, videos, audio files, PDFs, and other documents. The Media Library provides tools for organising, editing, and embedding these files directly into your posts and pages.
At CERN, the Media Library experience is enhanced with the FileBird plugin, which adds a powerful folder system to the standard interface. This folder functionality transforms the normally flat structure of the Media Library into a hierarchical organization system similar to what you might be familiar with on your computer. With FileBird, you can create main folders and subfolders, drag and drop media between them, filter by folder, and even use bulk selection tools to organise multiple files simultaneously.
The folder system is particularly valuable for sites with extensive media collections, making it significantly easier to locate specific assets when needed. For example, you might create separate folders for departments, events, products, or any organisational structure that aligns with your content strategy. This structured approach not only streamlines your workflow, but also helps maintain consistency across your site by making it simple to find and reuse approved media assets.
The Media Library supports both local files and CDS.
Local Files
WordPress supports the upload of local
- image (
.png,.jpg,.jpeg,.gif,.avif, and.webp)*; - video (
.mp4,.avi,.mov, and.webm); - document (
.pdf,.doc, and.docx); and - audio (
.mp3,.wav,.ogg, and.m4a) files.
Any uploaded file can be used any amount of times across your website, including multiple times in the same post or page.
*.svg upload is currently disabled pending a future release.
To ensure a smooth user experience, avoid uploading and inserting large (10MB+) files on your website.
If you need to share large files, consider using CDS and embed, or CERNBox and link.
If you need to upload files not currently supported, please contact us for support.
There are two ways to upload local files.
Upload via Media Library
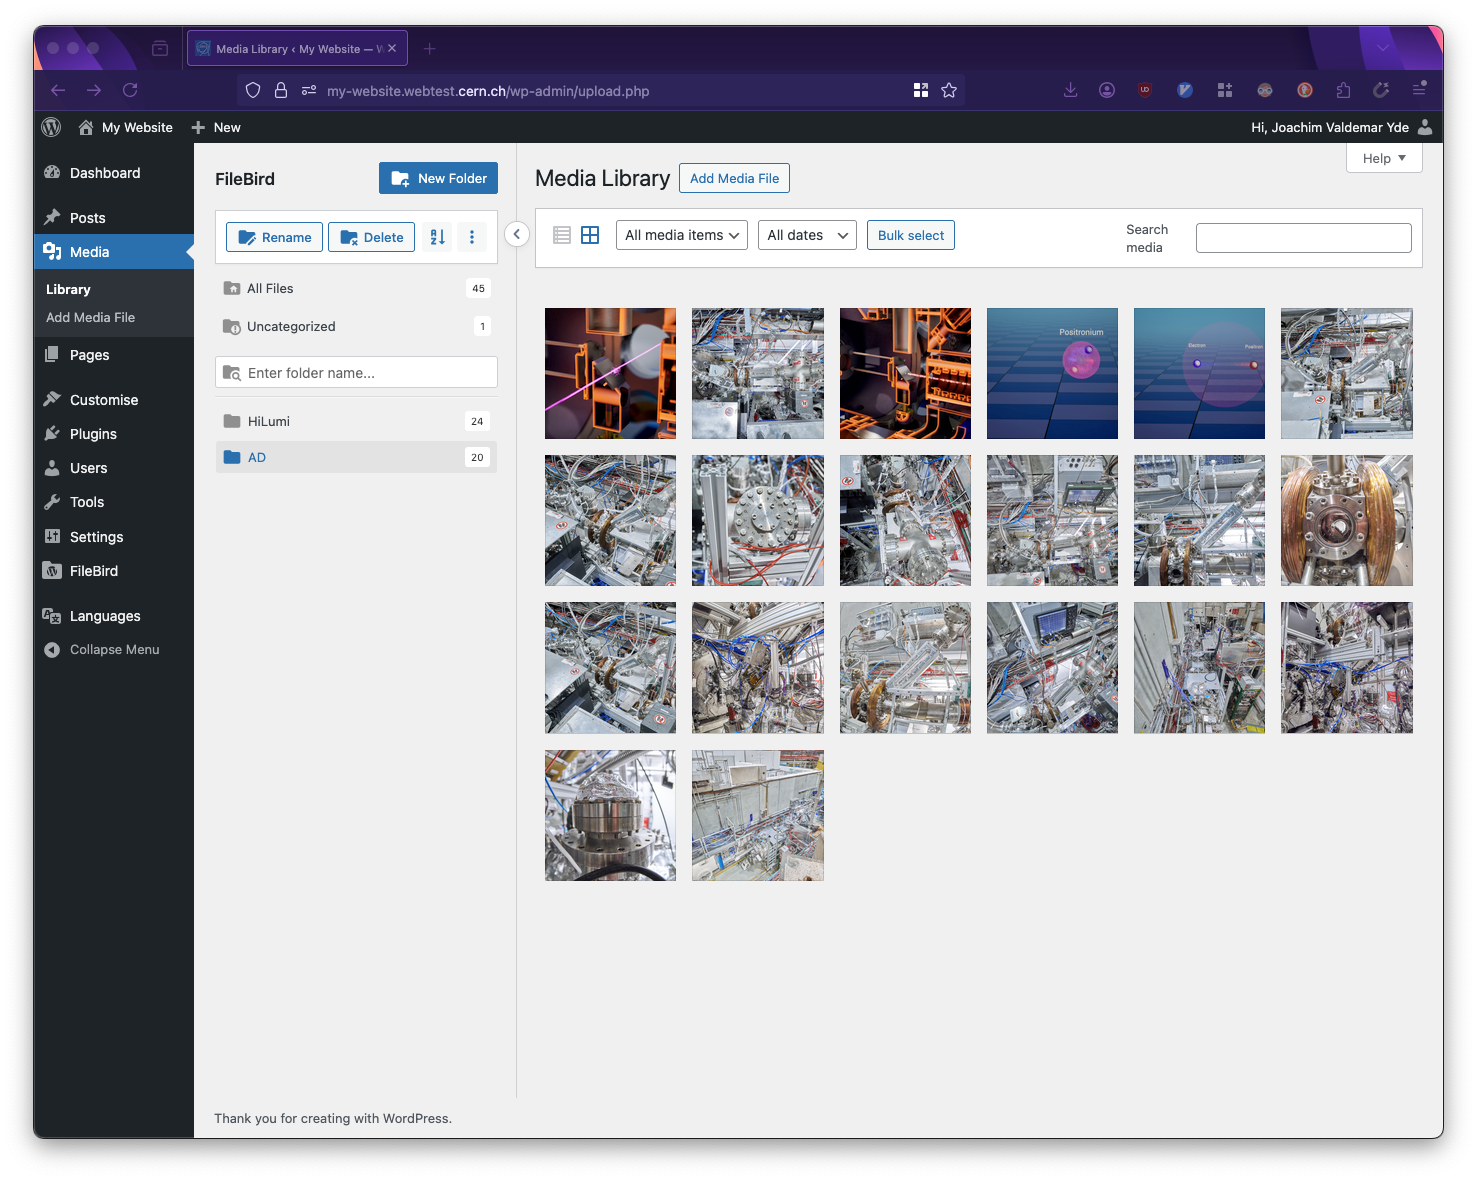
The WordPress Media Library when accessed via the Media button in the left sidebar menu.
- In your WordPress dashboard, navigate to
Mediain the left sidebar menu. - At the top of the Media Library page, you will see the
Add Newbutton. Click it. - A file upload dialog will appear. You can either:
- Drag and drop files from your computer directly onto this area
- Click the
Select Filesbutton to browse your computer for files
- Select one or multiple files to upload.
- WordPress will begin uploading your files immediately, showing progress indicators for each.
- Once uploaded, your files will appear in the Media Library.
Please note that since FileBird is enabled, you can organise your uploads into folders.
- Select the uploaded files by clicking on them (hold
Shiftto select multiple). - Click the
Move to folderbutton in the toolbar. - Select your destination folder or create a new one.
To edit file details, click on a file in the library and a panel will open on the right showing:
- The file title
- Caption
- Alt text
- Description
Upload while Editing
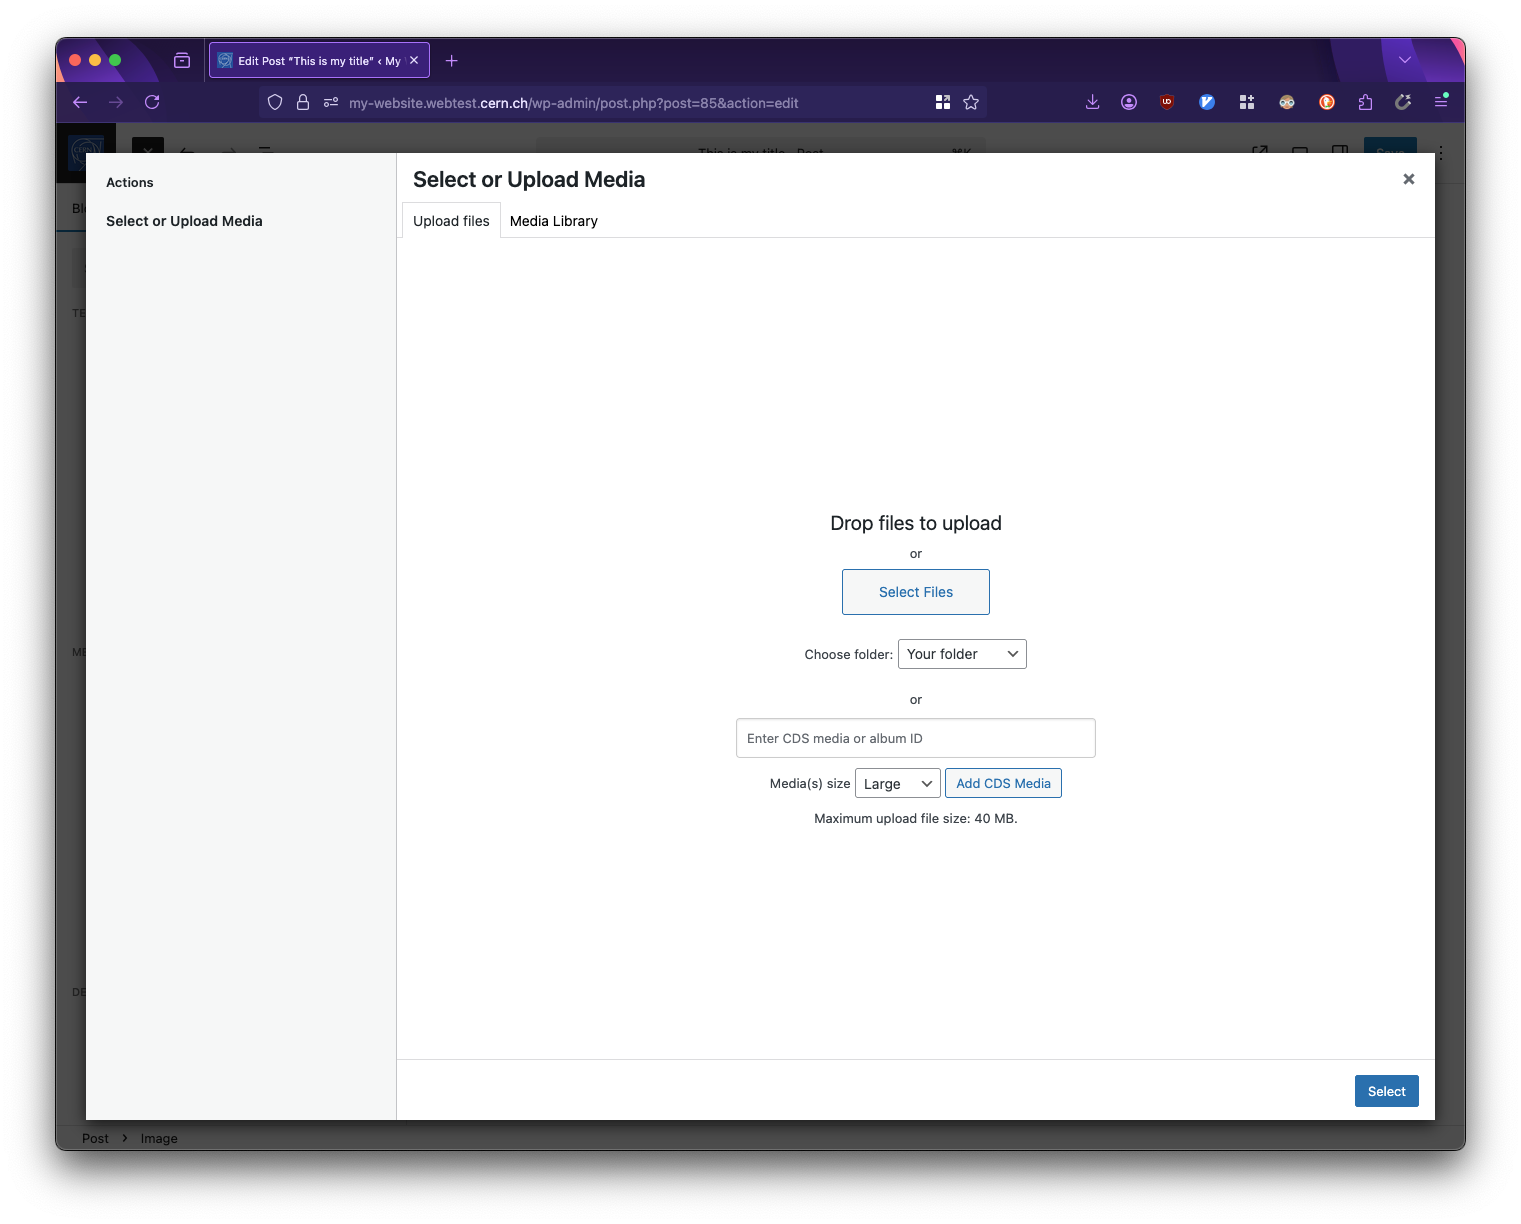
The WordPress Media Library when accessed via the editor. You can choose to upload a local file or paste a CDS media or album ID. If you upload a single piece of media either locally or through CDS, it is automatically inserted in your content. If you choose to upload a CDS album, you must subsequently choose which item you wish to insert for any block but the Gallery block.
While editing a post or page, position your cursor where you want to insert media.
- Click the
+button to add a new block. - Choose the appropriate block type:
Image blockfor picturesFile blockfor documentsVideo blockfor videosAudio blockfor sound filesGallery blockfor multiple images
- Once the block is added, you'll see options to upload media:
- Click the
Uploadbutton within the block - Or drag and drop files directly onto the block
- Click the
- Select the file(s) from your computer to upload.
- WordPress will automatically upload and insert the file into your content.
- After insertion, you can:
- Adjust the block settings in the right sidebar
- Add captions or alt text
- Resize images using the handles
- Change alignment or other display options
Your uploaded file is automatically saved to the Media Library for future use, even if you do not publish the post.
CDS Integration
WordPress at CERN integrates with CDS, supporting both individual entries and albums up to 50 entries.
Behind the scenes, WordPress stores a copy of the thumbnail of your CDS entry. This avoids unnecessary duplication of content and ensures one source of truth (i.e. CDS) while optimising your editing experience as browsing the Media Library relies on local content only. Please note that if CDS is experiencing issues or undergoing maintenance, your website may not be able to load and display content from CDS.
As captions are automatically imported from CDS, if you wish to make any changes to the caption of a given media, these changes must be made directly via CDS as opposed to on WordPress. Consequently, if you do not own the media on CDS, but need to change the caption for any reason, please download a copy and upload it to your website. Alternatively, please get in touch with the CDS team and request an update.
As with local files, there are two ways in which you can upload content from CDS to your website.
Add CDS via Media Library
By default, media from CDS is inserted as size Large.
The size corresponds to both the quality of the media in question as well as its actual size.
The more media on a page, the more any visitor has to load with larger media inherently taking longer, especially on slower connections.
As such, while Large is often a nice compromise a nice level of quality and size, consider using Medium if the associated version is sufficient for your use-case.
Work in progress...
Add CDS while Editing
Work in progress...