Create a WordPress instance
Warning
Currently SelfService of Wordpress has been disabled, to create a new Wordpress instance please open a ticket
To proceed creating a WordPress instance, make sure your project is selected.
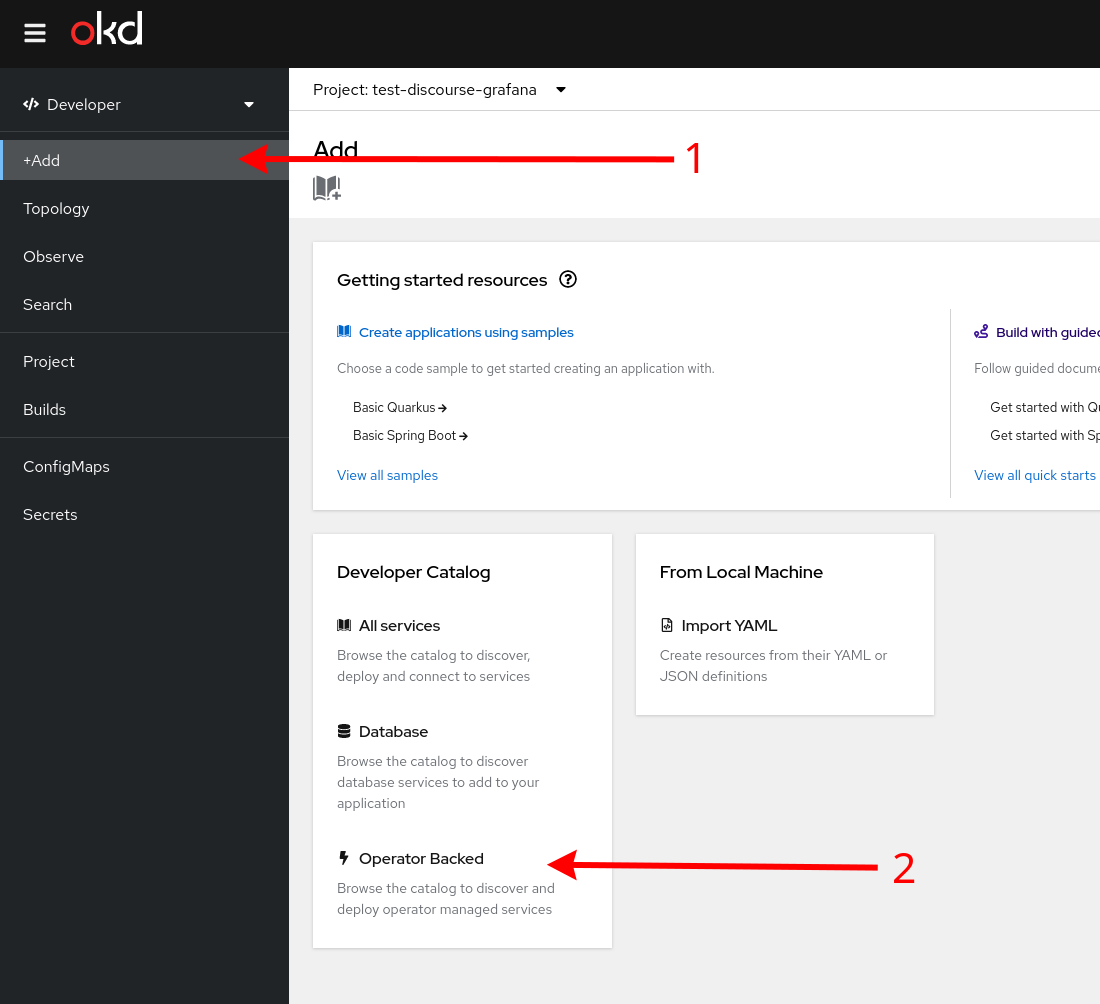
Go to the Add tab and click on the Operator Backed category, then choose the WordPress operator.
In the creation form fill the corresponding fields:
Hostname: refers to the hostname of your WordPress instance, e.g.,my-awesome-wordpress.web.cern.ch, ormy-wp.app.cern.ch. If under the App Catalogue staging cluster (https://app-cat-stg.cern.ch), use the.webtest.cern.chsubdomain for thehostname.WordPress admin email: refers to a CERN e-mail, since an administrator account will be created based on it. E.g.,john.smith@cern.ch.
Info
Note that a good practice could be to use a CERN secondary account or a service account as the WordPress admin email value, leaving for free your CERN primary account. Thus, your CERN secondary/service account will be the administrator of the WordPress site (having admin as the username, and cannot be changed), while your primary account will be a basic user (with the corresponding username as the username).
However, this is not mandatory and nothing prevents a user to use its CERN primary account as the WordPress admin email value.

Adjust the Visibility of your WordPress instance accordingly, either by setting Intranet (your WordPress site will be only accessible inside CERN) or Internet (accessible from both inside/outside CERN).
And finally click on Create to launch the creation of the instance.
To check whether our instance is ready to use, we can check the status of the installation:
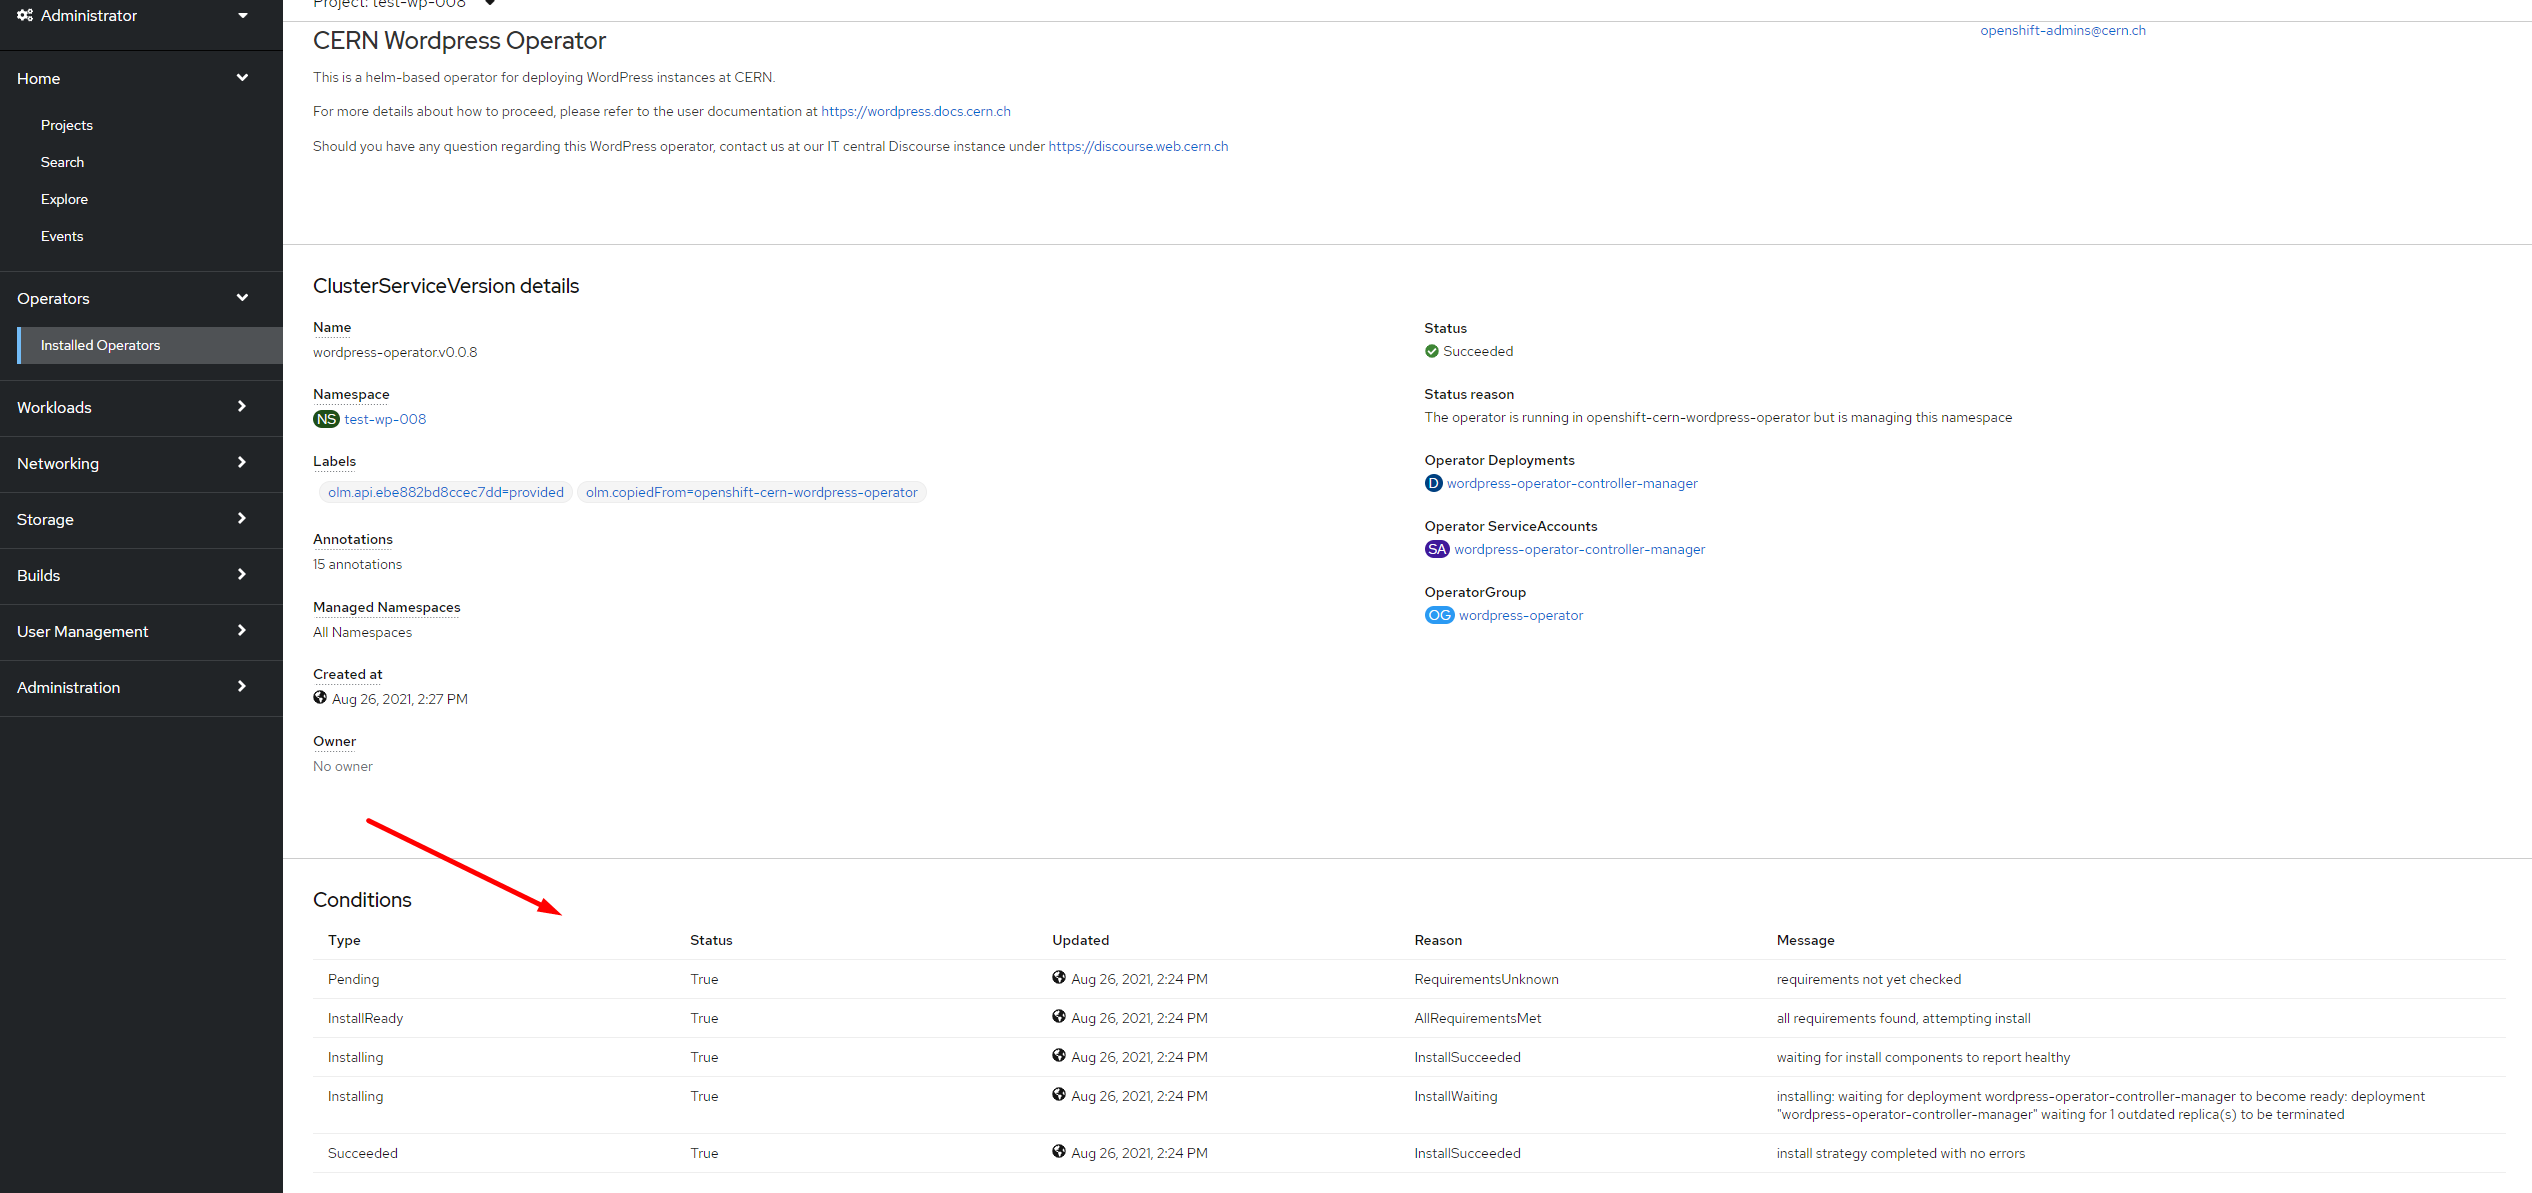
After some minutes, you will have your WordPress up and running under the Hostname url you have set before.
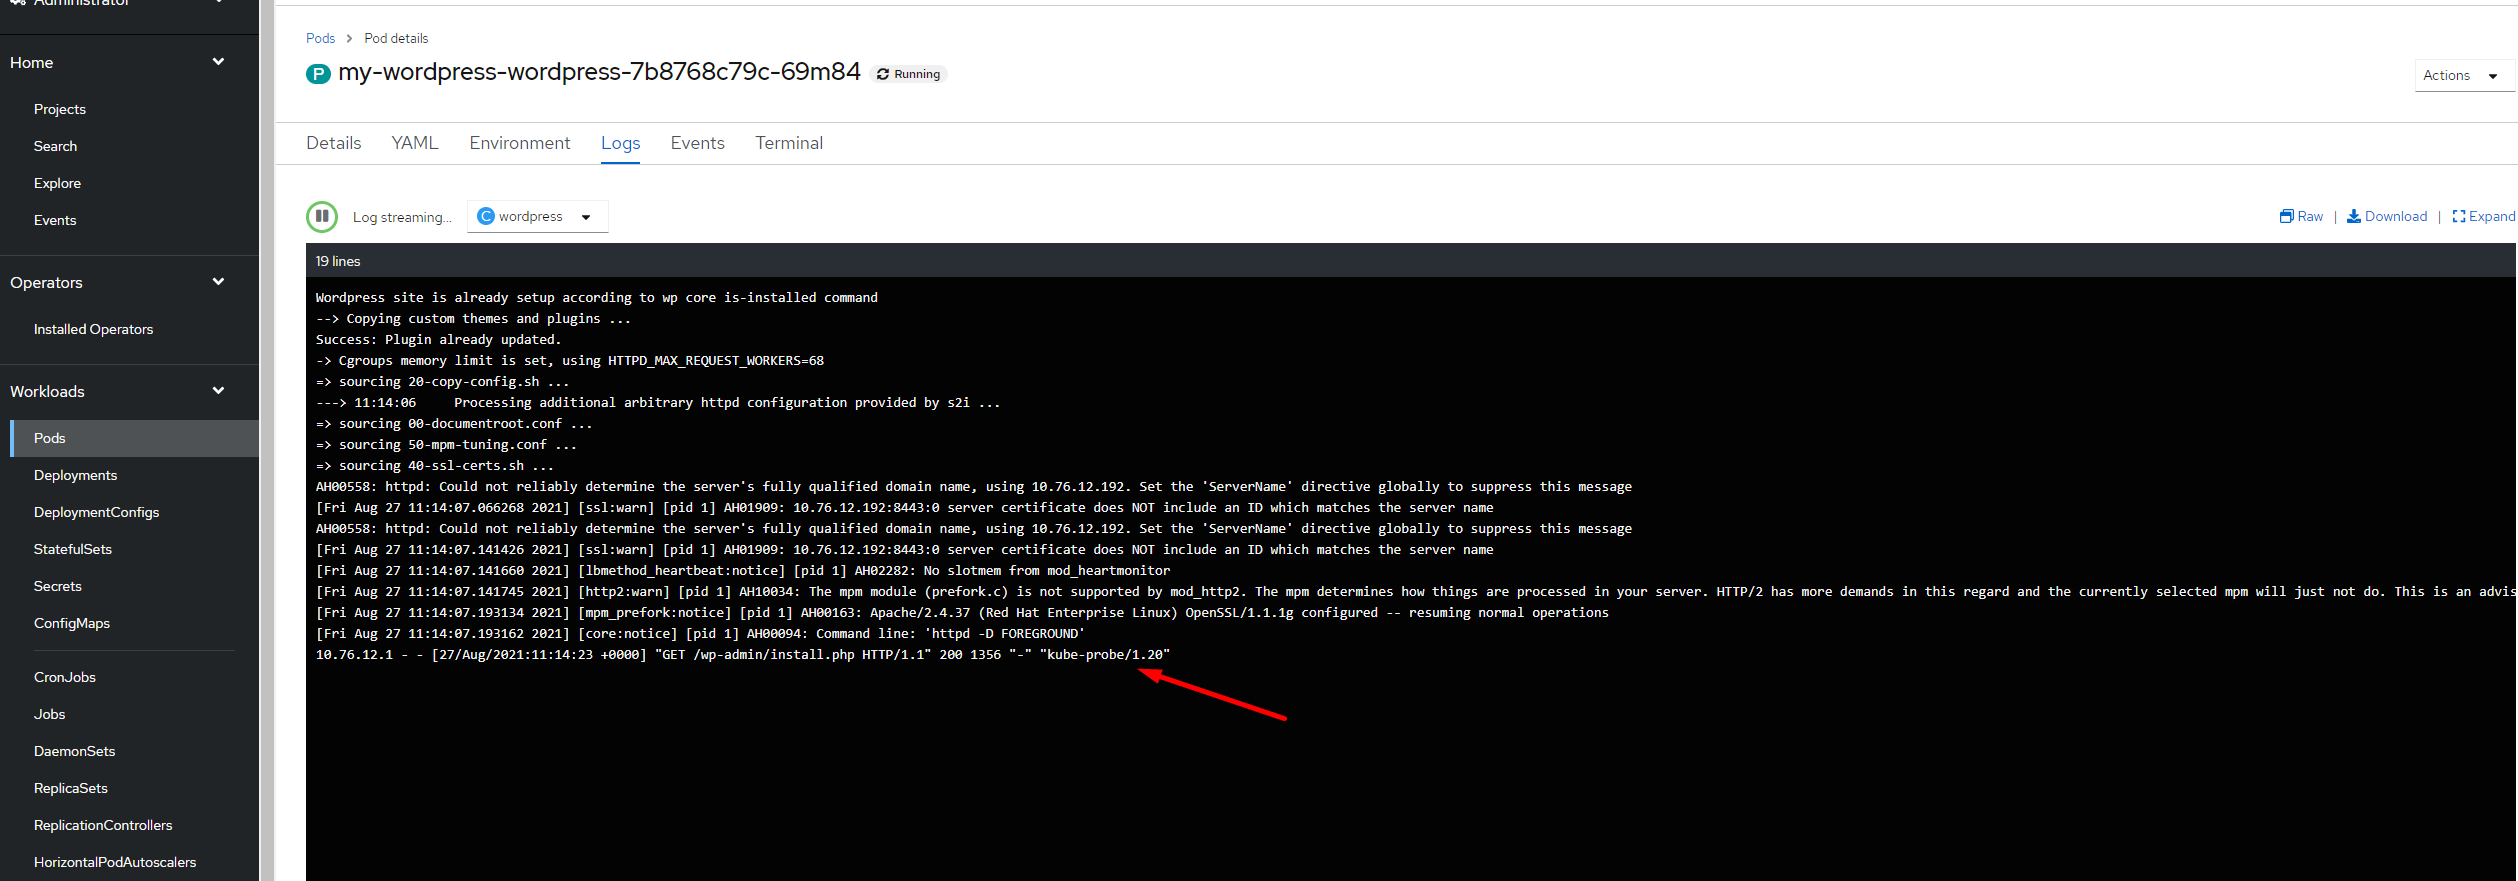
A good indicator that notes that everything is ready it is to visit the wordpress pod and check for the logs.
Advanced, xmlrpc.php connector
Warning
A security breach has been discovered back in December 2022 about the usage of the xmlrpc.php connector. This file is autogenerated when a new WordPress site is instantiated. It has been disabled to remove a potential vulnerability to the wordpress websites however,if needed*, can be re-enabled with the following steps:
* Reasons to be needed: - Functionality: Some third-party applications and services rely on xmlrpc.php to interact with WordPress. - Compatibility: Some plugins and themes may rely on xmlrpc.php to provide certain functionality.
First, access the terminal as indicated in Manipulate WordPress files.
Once in the Terminal, place over the following folder (it is already by default when you open the Terminal):
sh-4.4$ pwd
/opt/app-root/src

sh-4.4$ vi .htaccess

# An editor is opened. Append the following lines to the end of the .htaccess file
<Files xmlrpc.php>
allow from all
</Files>

# save the changes by typing
(Escape key) :wq
To validate that the changes are properly in place, check the file with:
sh-4.4$ cat .htaccess
It should look like:
<Files xmlrpc.php>
allow from all
</Files>