Enabling the hCaptcha Module in Webforms
This page relates exclusively to WordPress Lite, a lightweight version of WordPress available between October 2024 and May 2025. It is no longer possible to create new WordPress Lite websites. We thank all WordPress Lite users and are happy to report that all feedback has been implemented and made available by default. This documentation will remain online and accessible until all WordPress Lite websites have been moved to the official WordPress Service.
Click here to return to the main WordPress documentation.
!!! info This guide serves as a sample documentation for enabling CAPTCHA in WordPress webforms.
Create a hCaptcha account
- Visit the hCaptcha Dashboard and sign up using your CERN email address.
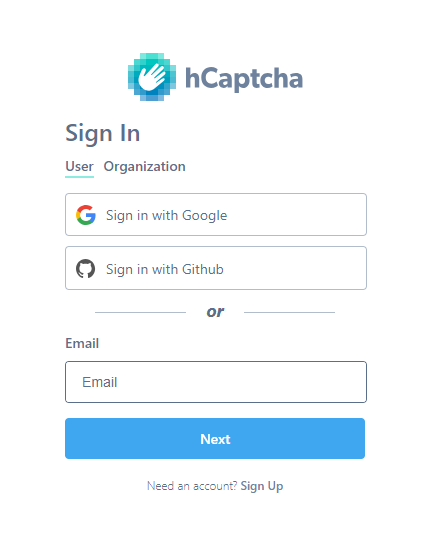
- Complete your account setup by following the link in the email send by hCaptcha to verify your email address.
Configuring hCaptcha for Fluent Forms on your WordPress site
-
Login to the hCaptcha Dashboard.
-
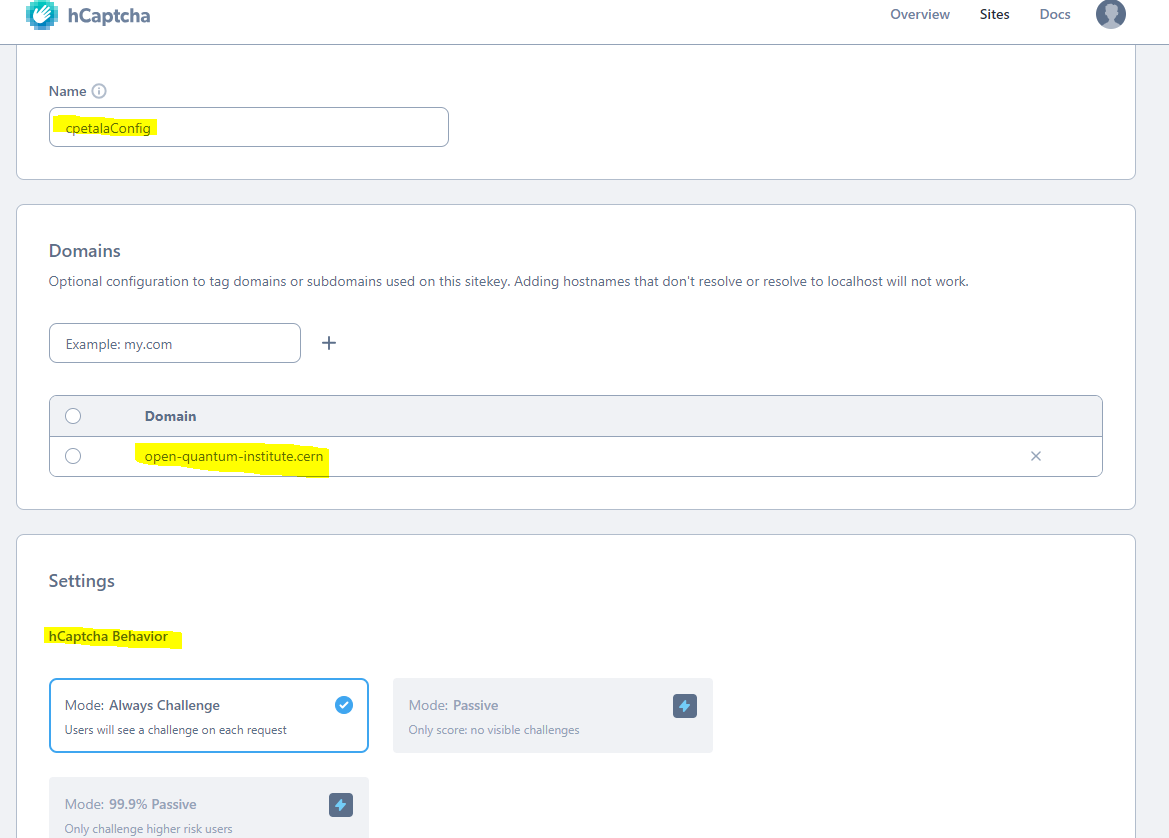
Click the Add Site button, provide your preferences for enabling the CAPTCHA (e.g. domain) and configure settings to suit your needs.
-
Press the Save button.
-
In the admin panel of your WordPress dashboard, navigate to
Fluent Forms -> Global Settings -> Security -> hCatpcha. This is where you can add theSite KeyandSecret Keyobtained from the hCaptcha dashboard (explained in the next steps).

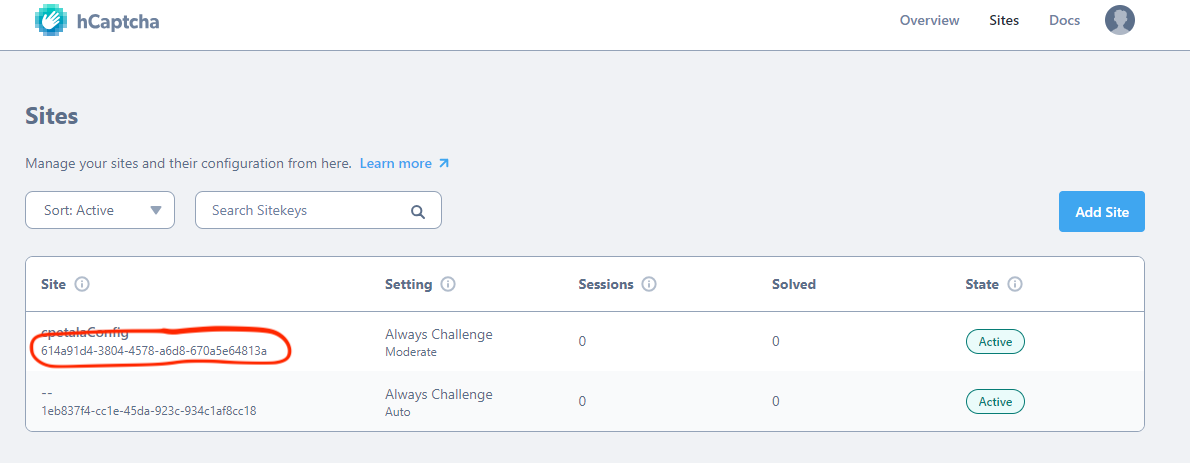
- Find the
Site Keyunderneath the site name in your list of sites on your hCaptcha dashboard.
- Create the
Secret Keyby visiting the URL provided in the administration panel: hCaptcha Secrets Settings. Click Generate New Secret to obtain the key. Make sure to copy and save the key.
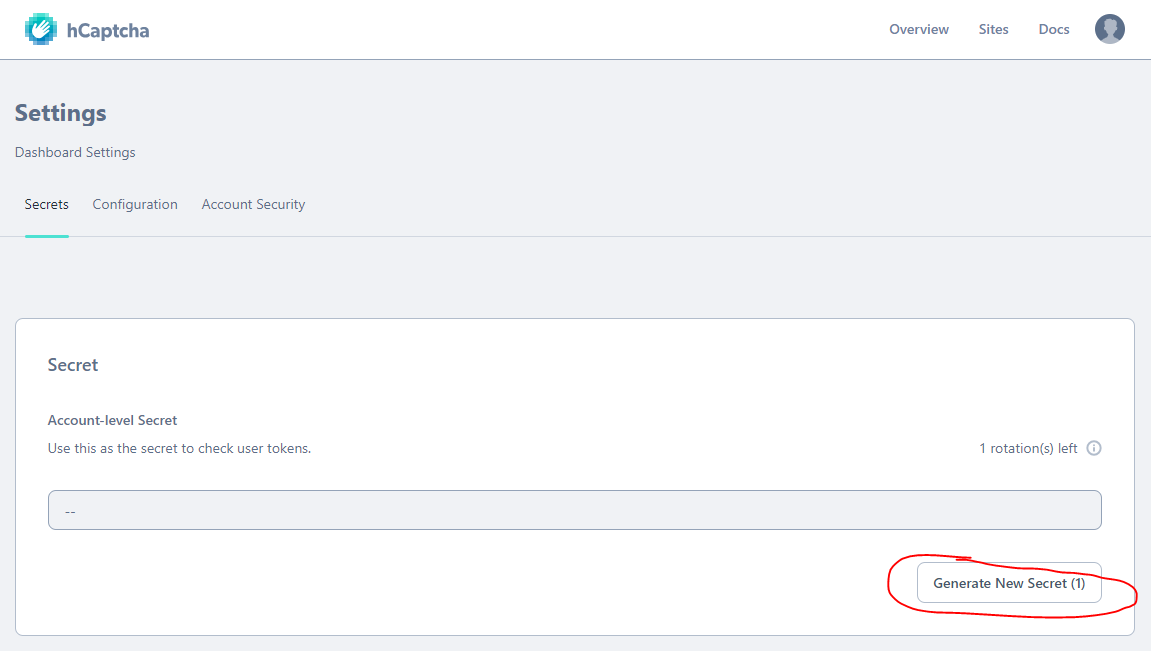
- Once you have entered both keys in to the Fluent Forms settings menu (shown in step 4), click the Save Settings button.
Adding hCaptcha to forms
In order for hCaptcha to protect your forms, you need to add the hCaptcha field to each form you want to protect.
-
Navigate to
Fluent Forms -> All Formsin the admin panel of your WordPress site. -
Select the form you want to protect and click on the Edit button.
-
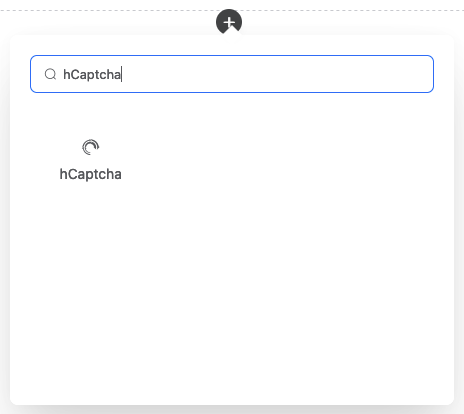
Insert a
hCaptchafield in the form.
- Save the form and preview it in a browser to verify that the hCaptcha field is visible and functional.
